3d Printing an FPV Drone
I already have a Blade 350QX3, and it’s fun to fly. It isn’t well-suited for FPV racing. The camera is bulky and crashes often require buying a new body. To be fair, I don’t think the engineers had FPV racing in mind when designing this drone. The QX3 is much more focused on aerial photography. In that realm, it performs spectacularly.

The Parts
So how about an FPV rig? To make this all work, I had to buy some parts.
| Part | Price | Retailer |
|---|---|---|
| 5.8G FPV Receiver | $17.84 | Ebay |
| FPV Camera | $7.99 | Banggood |
| BR2205 Brushless Motor X4 | $8.99 * 4 = $35.96 | Banggood |
| RS30x4 30A ESC | $46.99 | Banggood |
| PDB-XT60 | $6.52 | Banggood |
| 5.8G FPV Transmitter | $13.99 | Banggood |
| F3 Flight Controller | $21.99 | Banggood |
| 5x4x3 Propellers | $8.59 | Banggood |
All of these parts total to $172.76. The total cost can be reduced closer to $100 if you choose to wait for all the Banggood items to ship from their CN warehouse, but that just takes too long.
The Design
I had to start with something. Getting anything made will act as a good starting point. That does not excuse me for this first design. It looks horrible.
So after some deep thinking, I went back to Fusion and tried again. This time I made something much more viewable. While documenting this, I noticed that I did not reference any existing design. Usually, when building aerial machines, more than just looks goes into the design. I am very lucky that this works.
Printing
I am going to guess that it took around 30 hours to print all the parts on my janky 3d printer. This one was a long haul.
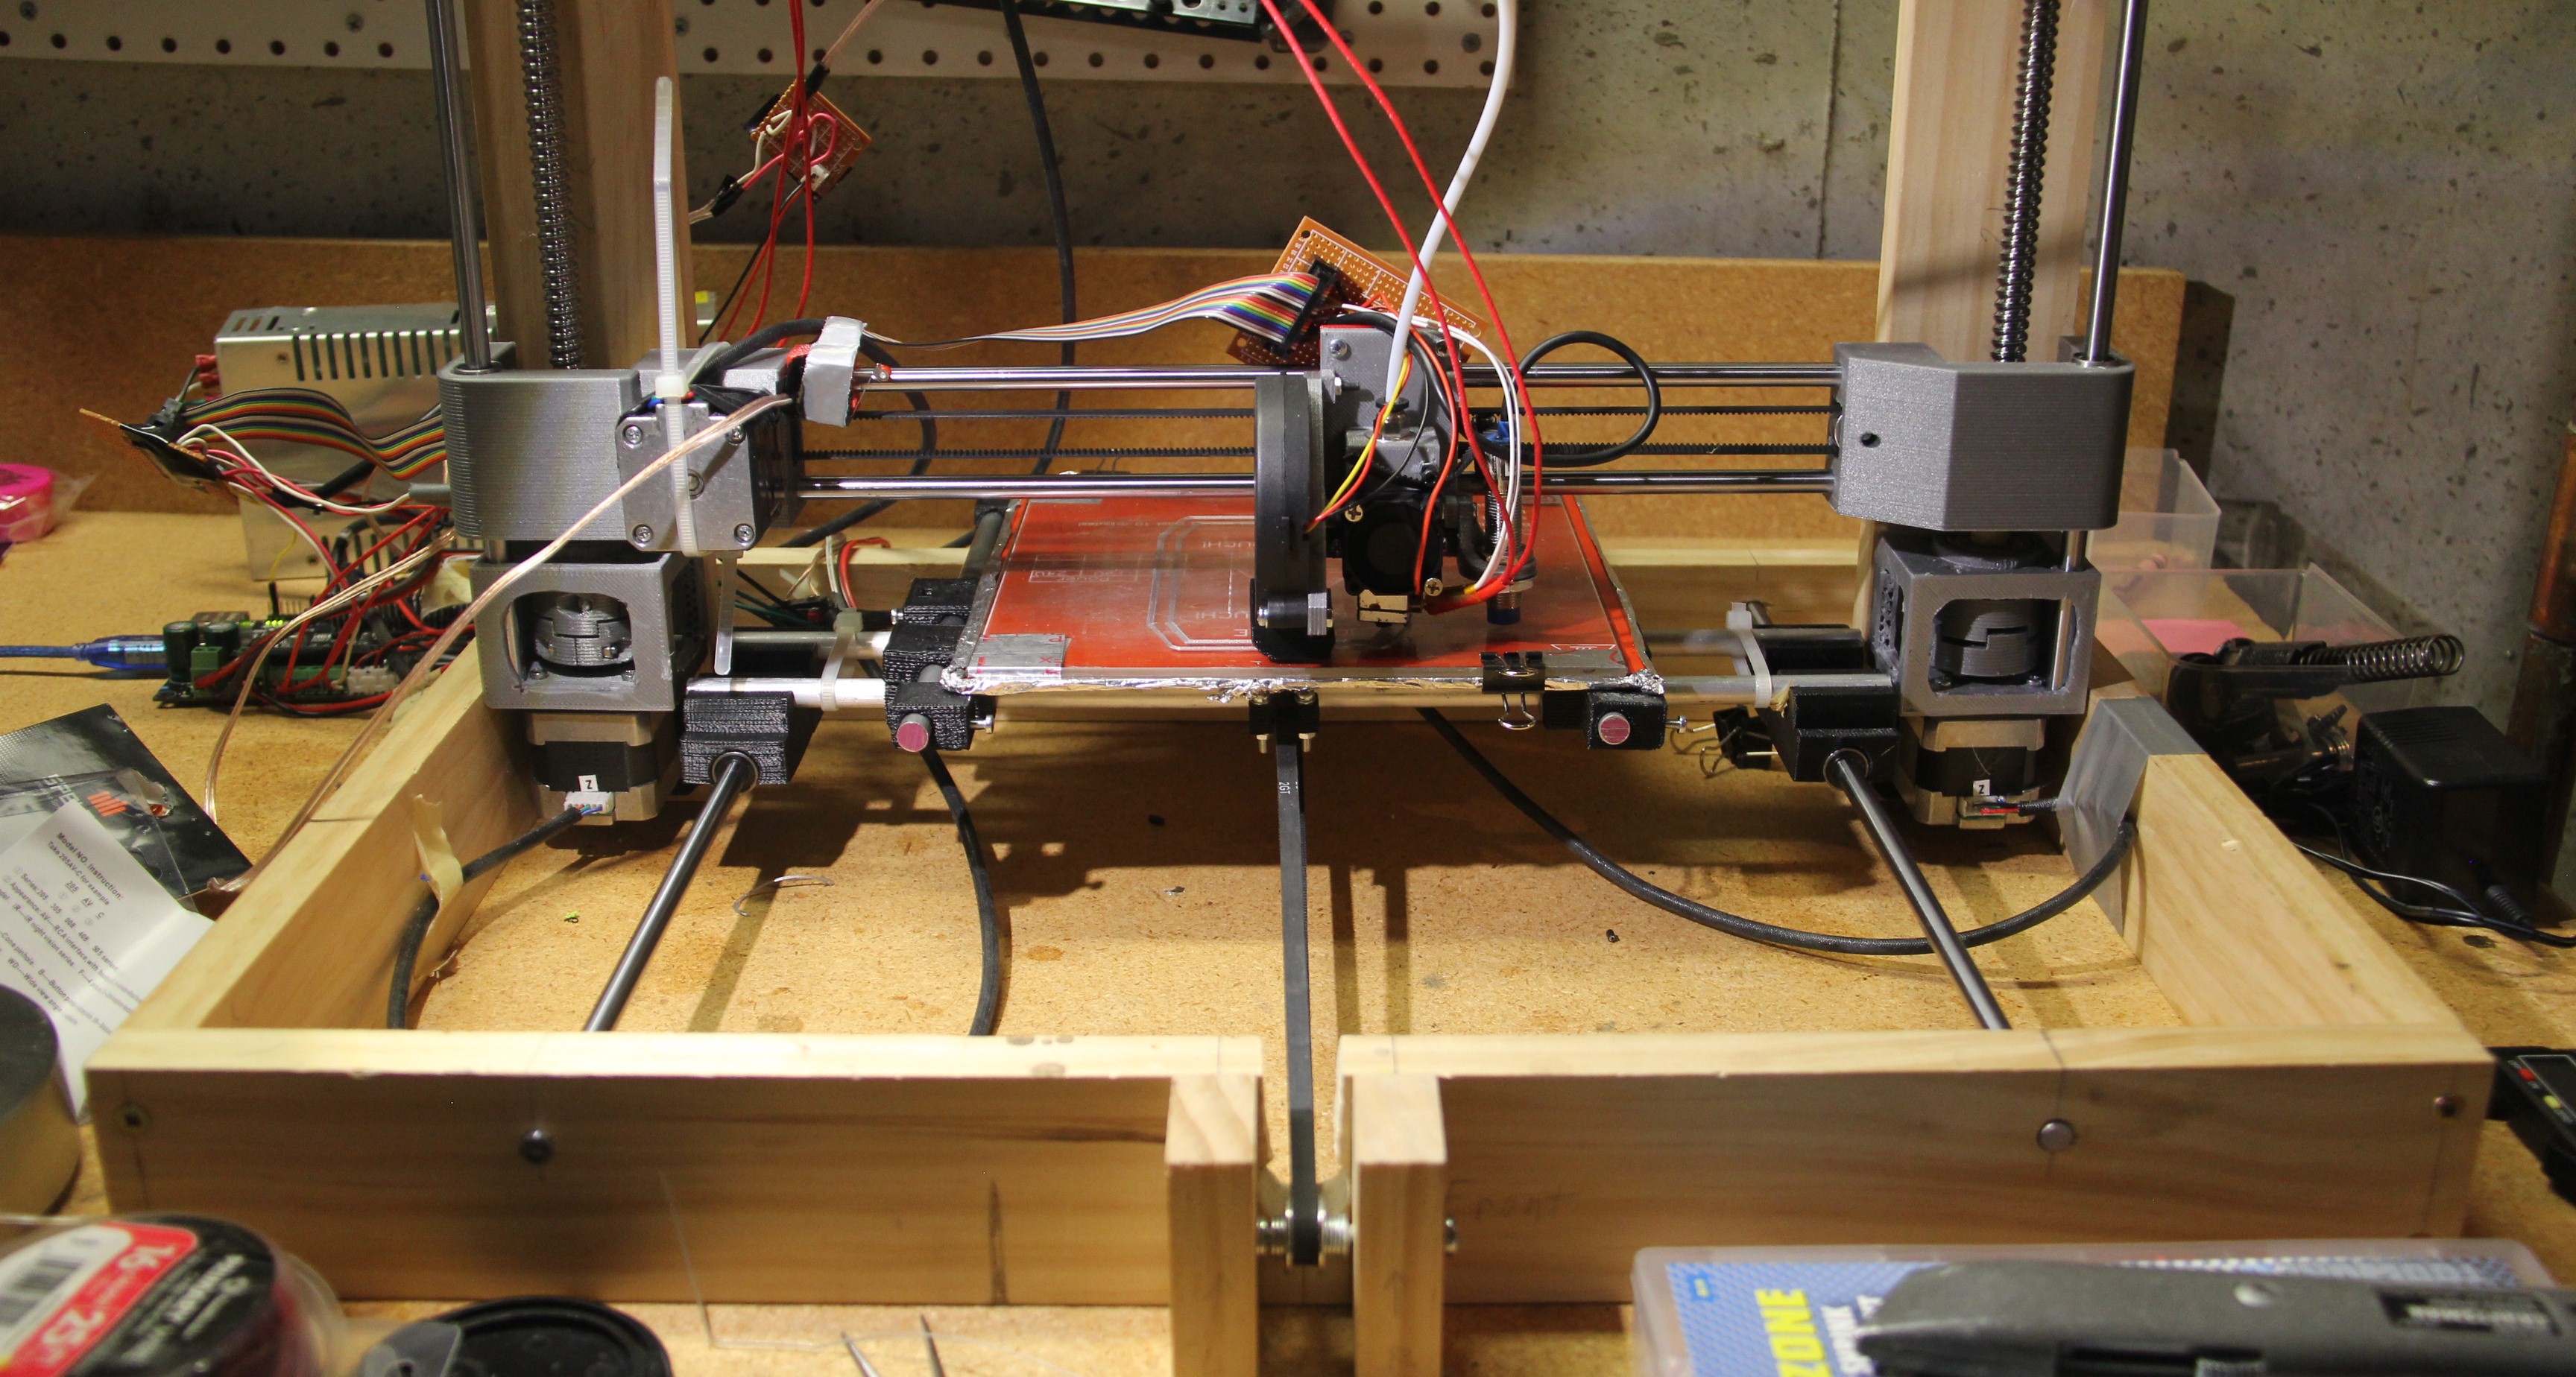
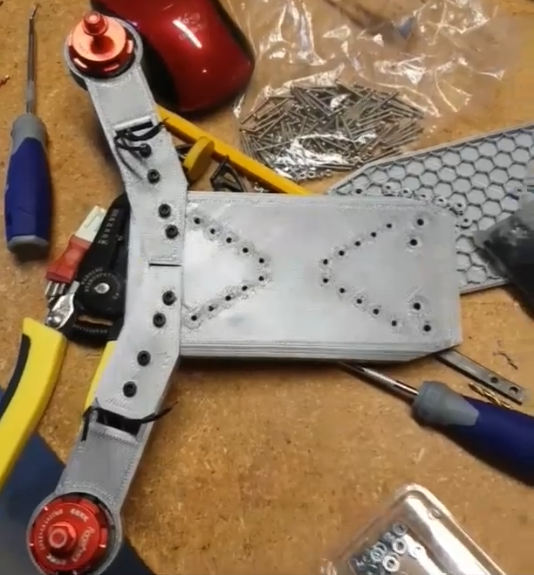
Here is the largest part of the body being printed. This odd-shaped square thing took over 3 hours to print.
Assembly
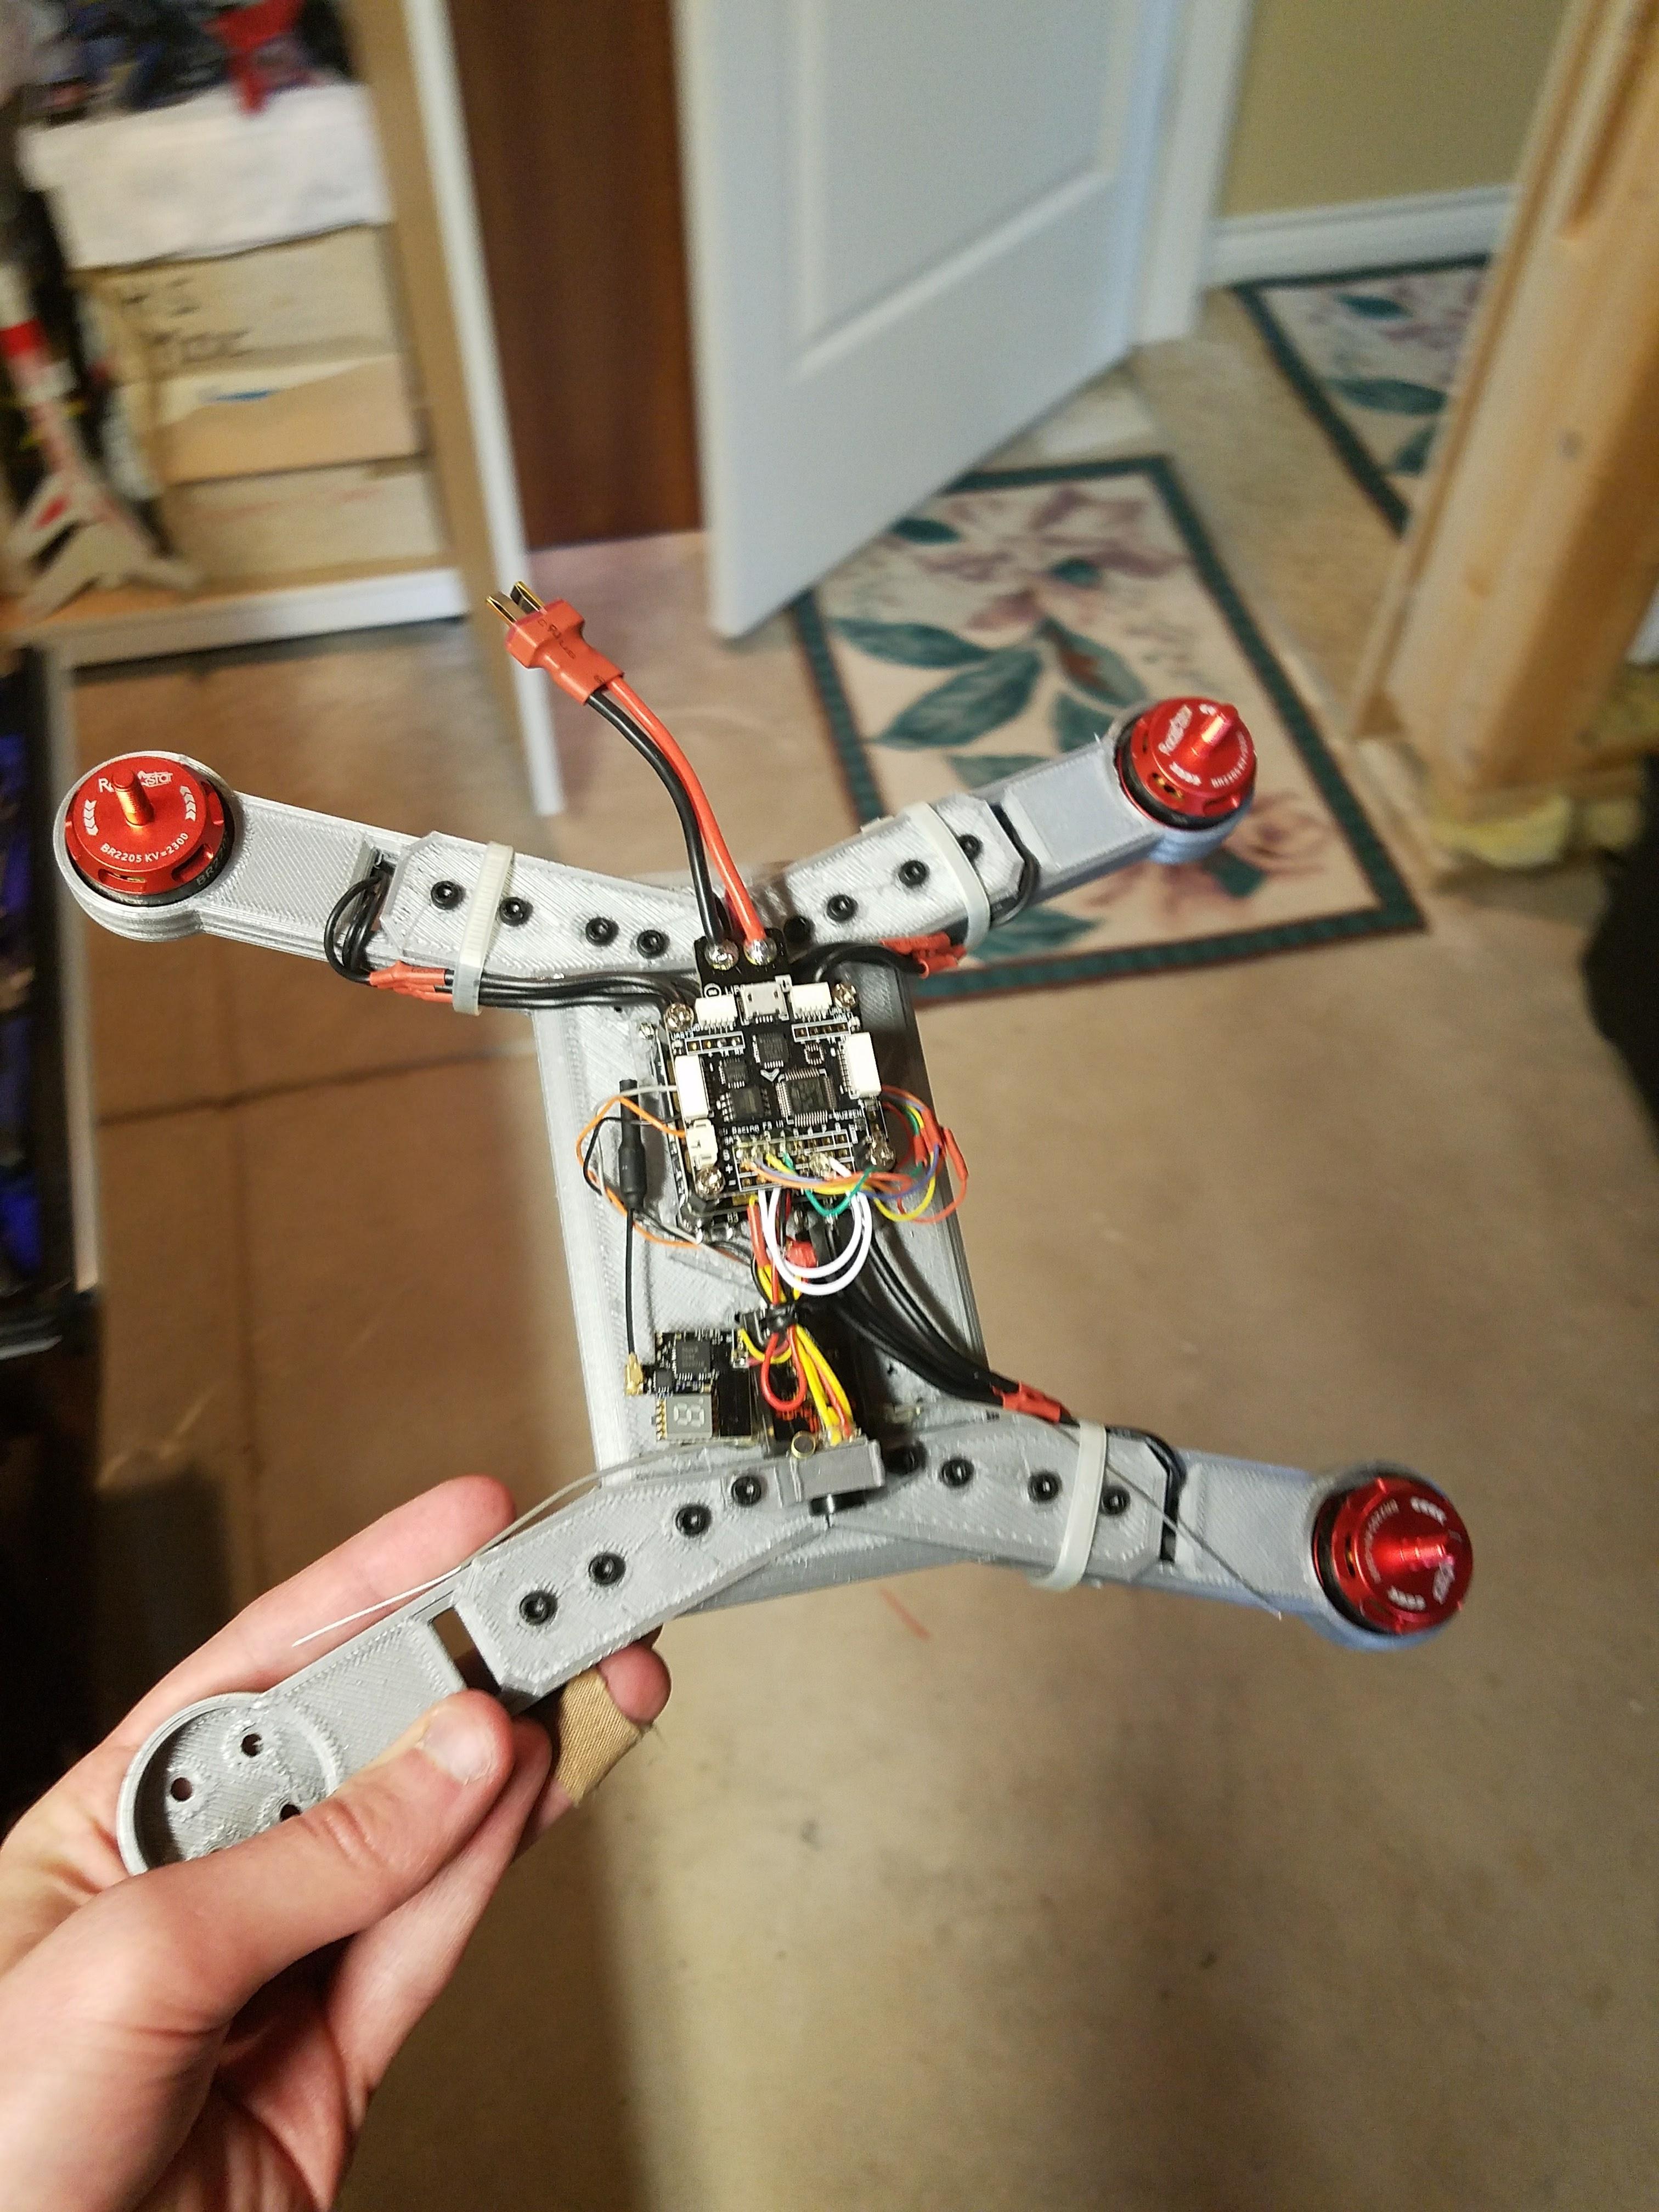
I started the assembly with the electronics. The main parts are the Electronic Speed Controller (ESC), Power Distribution Board (PDB), and the Flight Controller. The ESC is what will send current to the four motors. The PDB takes the current from the battery and delivers it to the other components. Finally, the Flight Controller takes in all the telemetry data from the on-board sensors and uses that to tell the ESC how much current to send to each motor.
It is common to take these three components and stack them on top of each other. This is referred to as ‘the stack.’
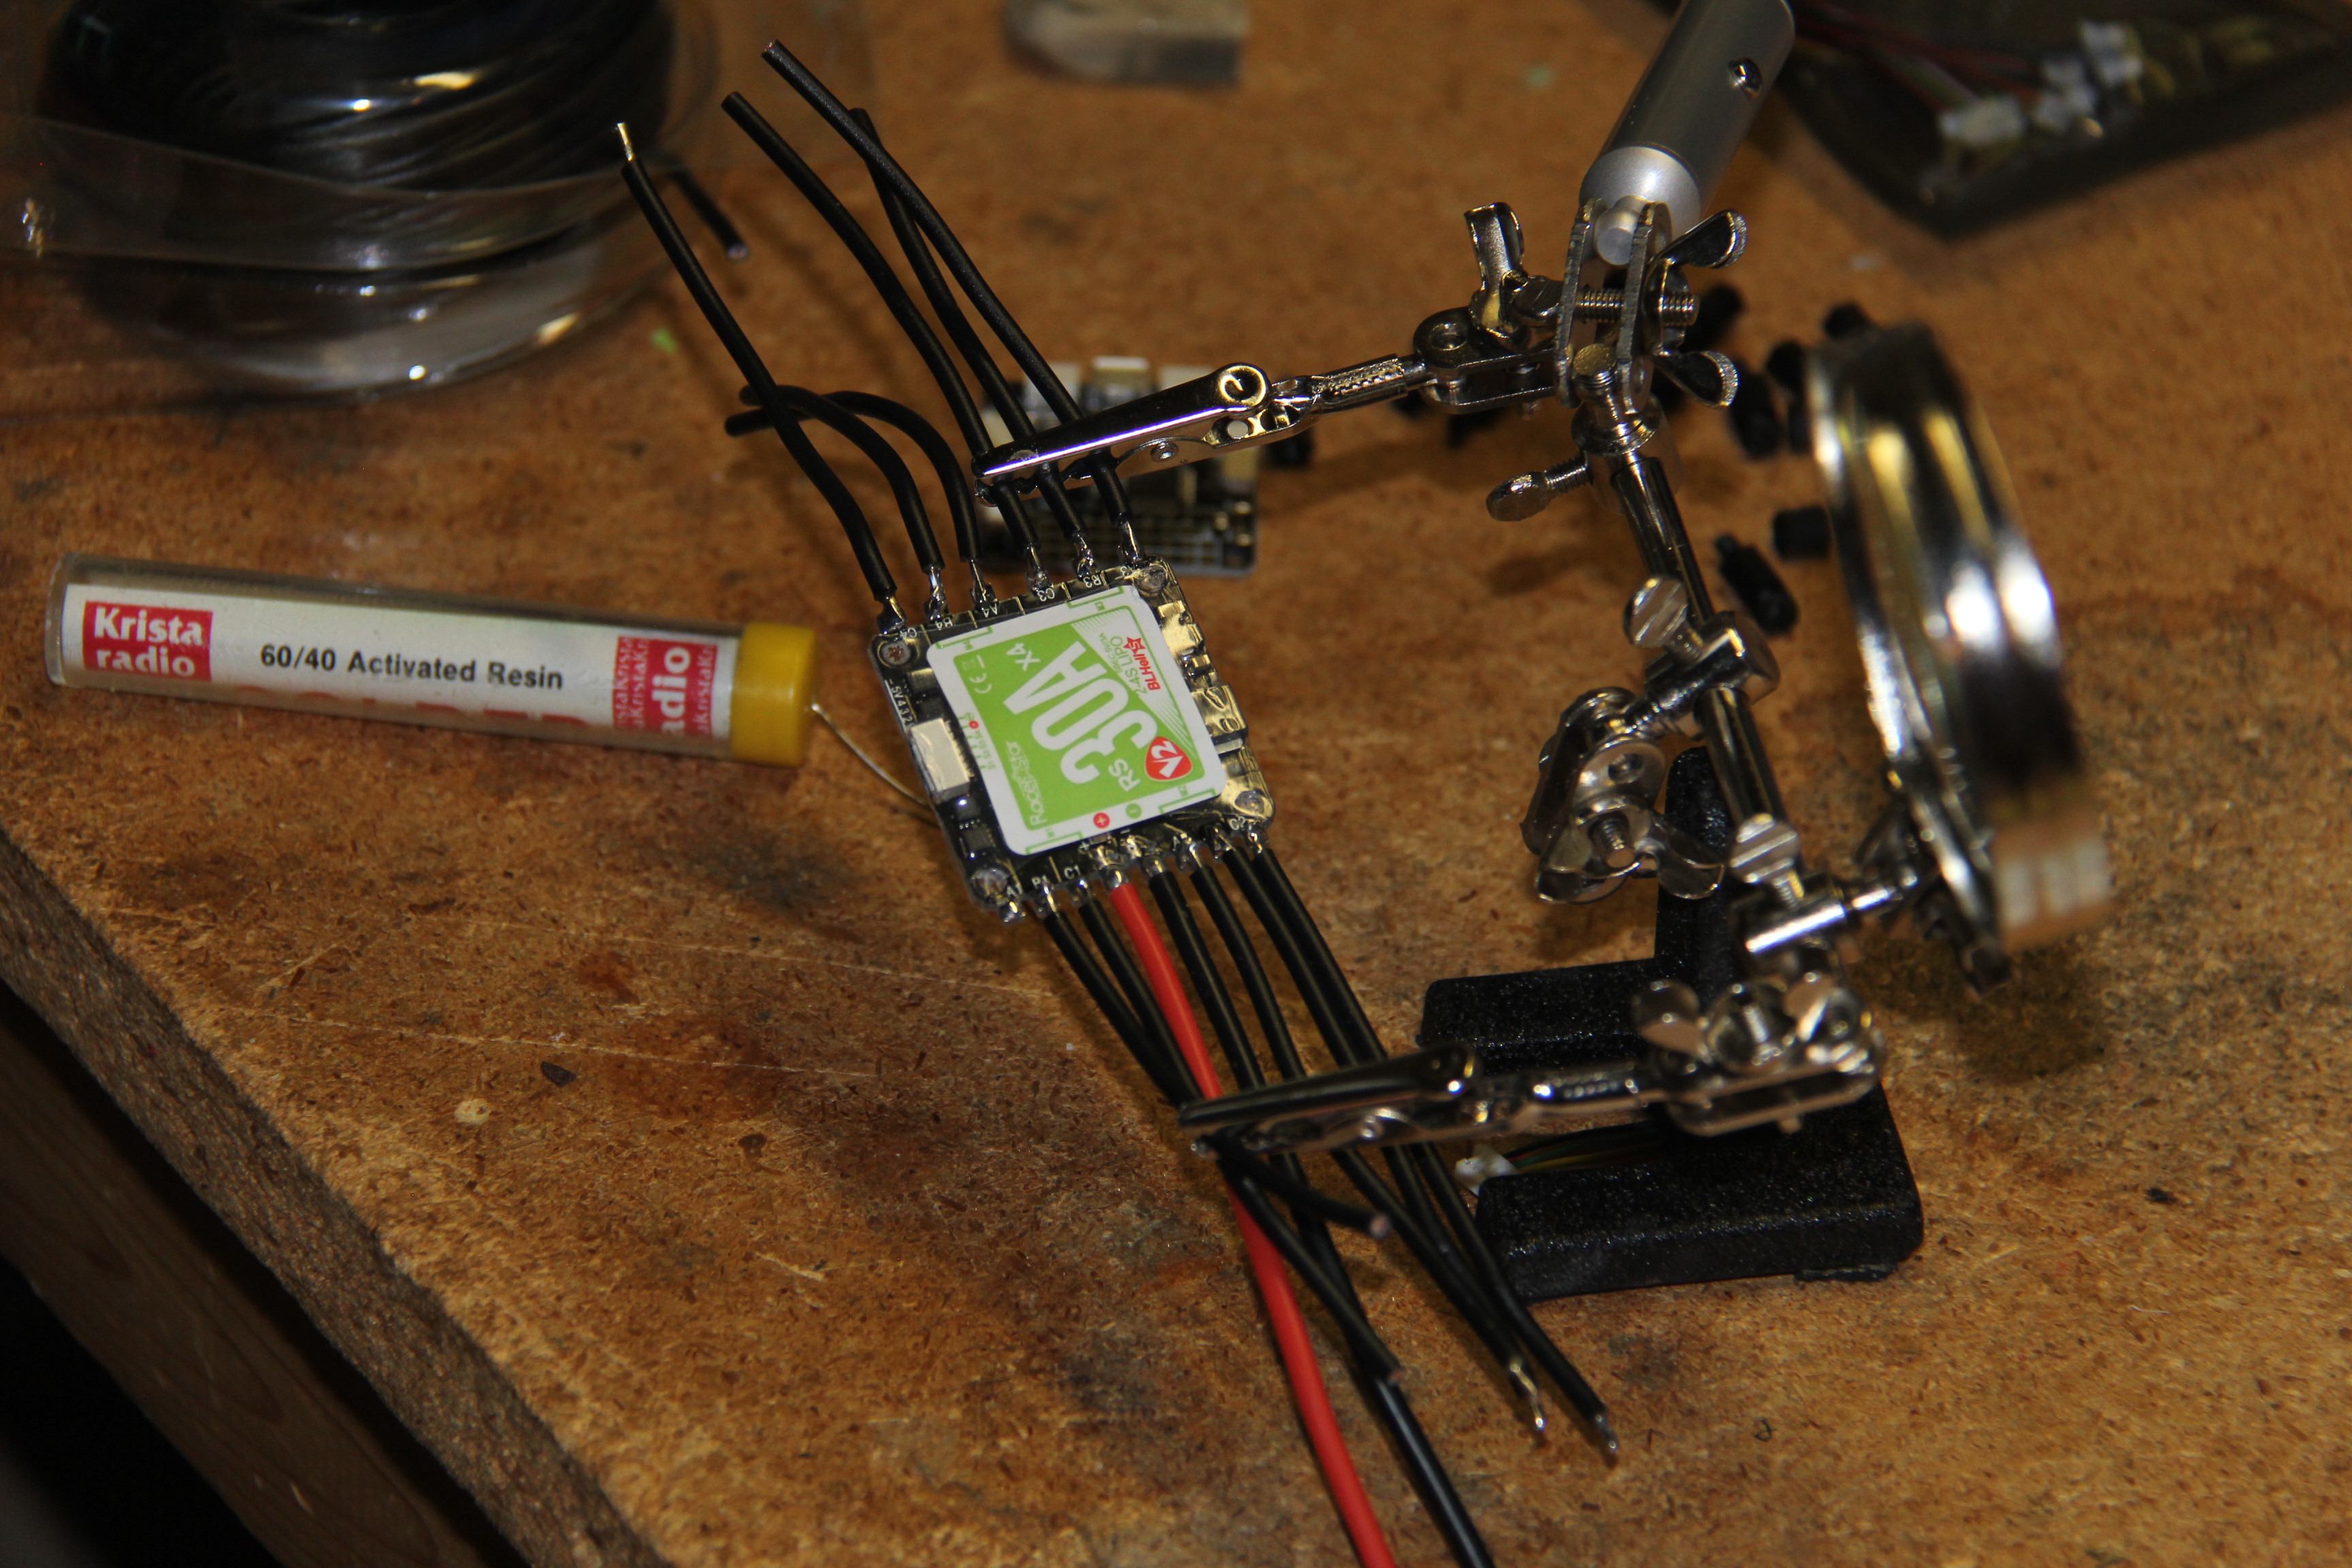 Wiring up the ESC.
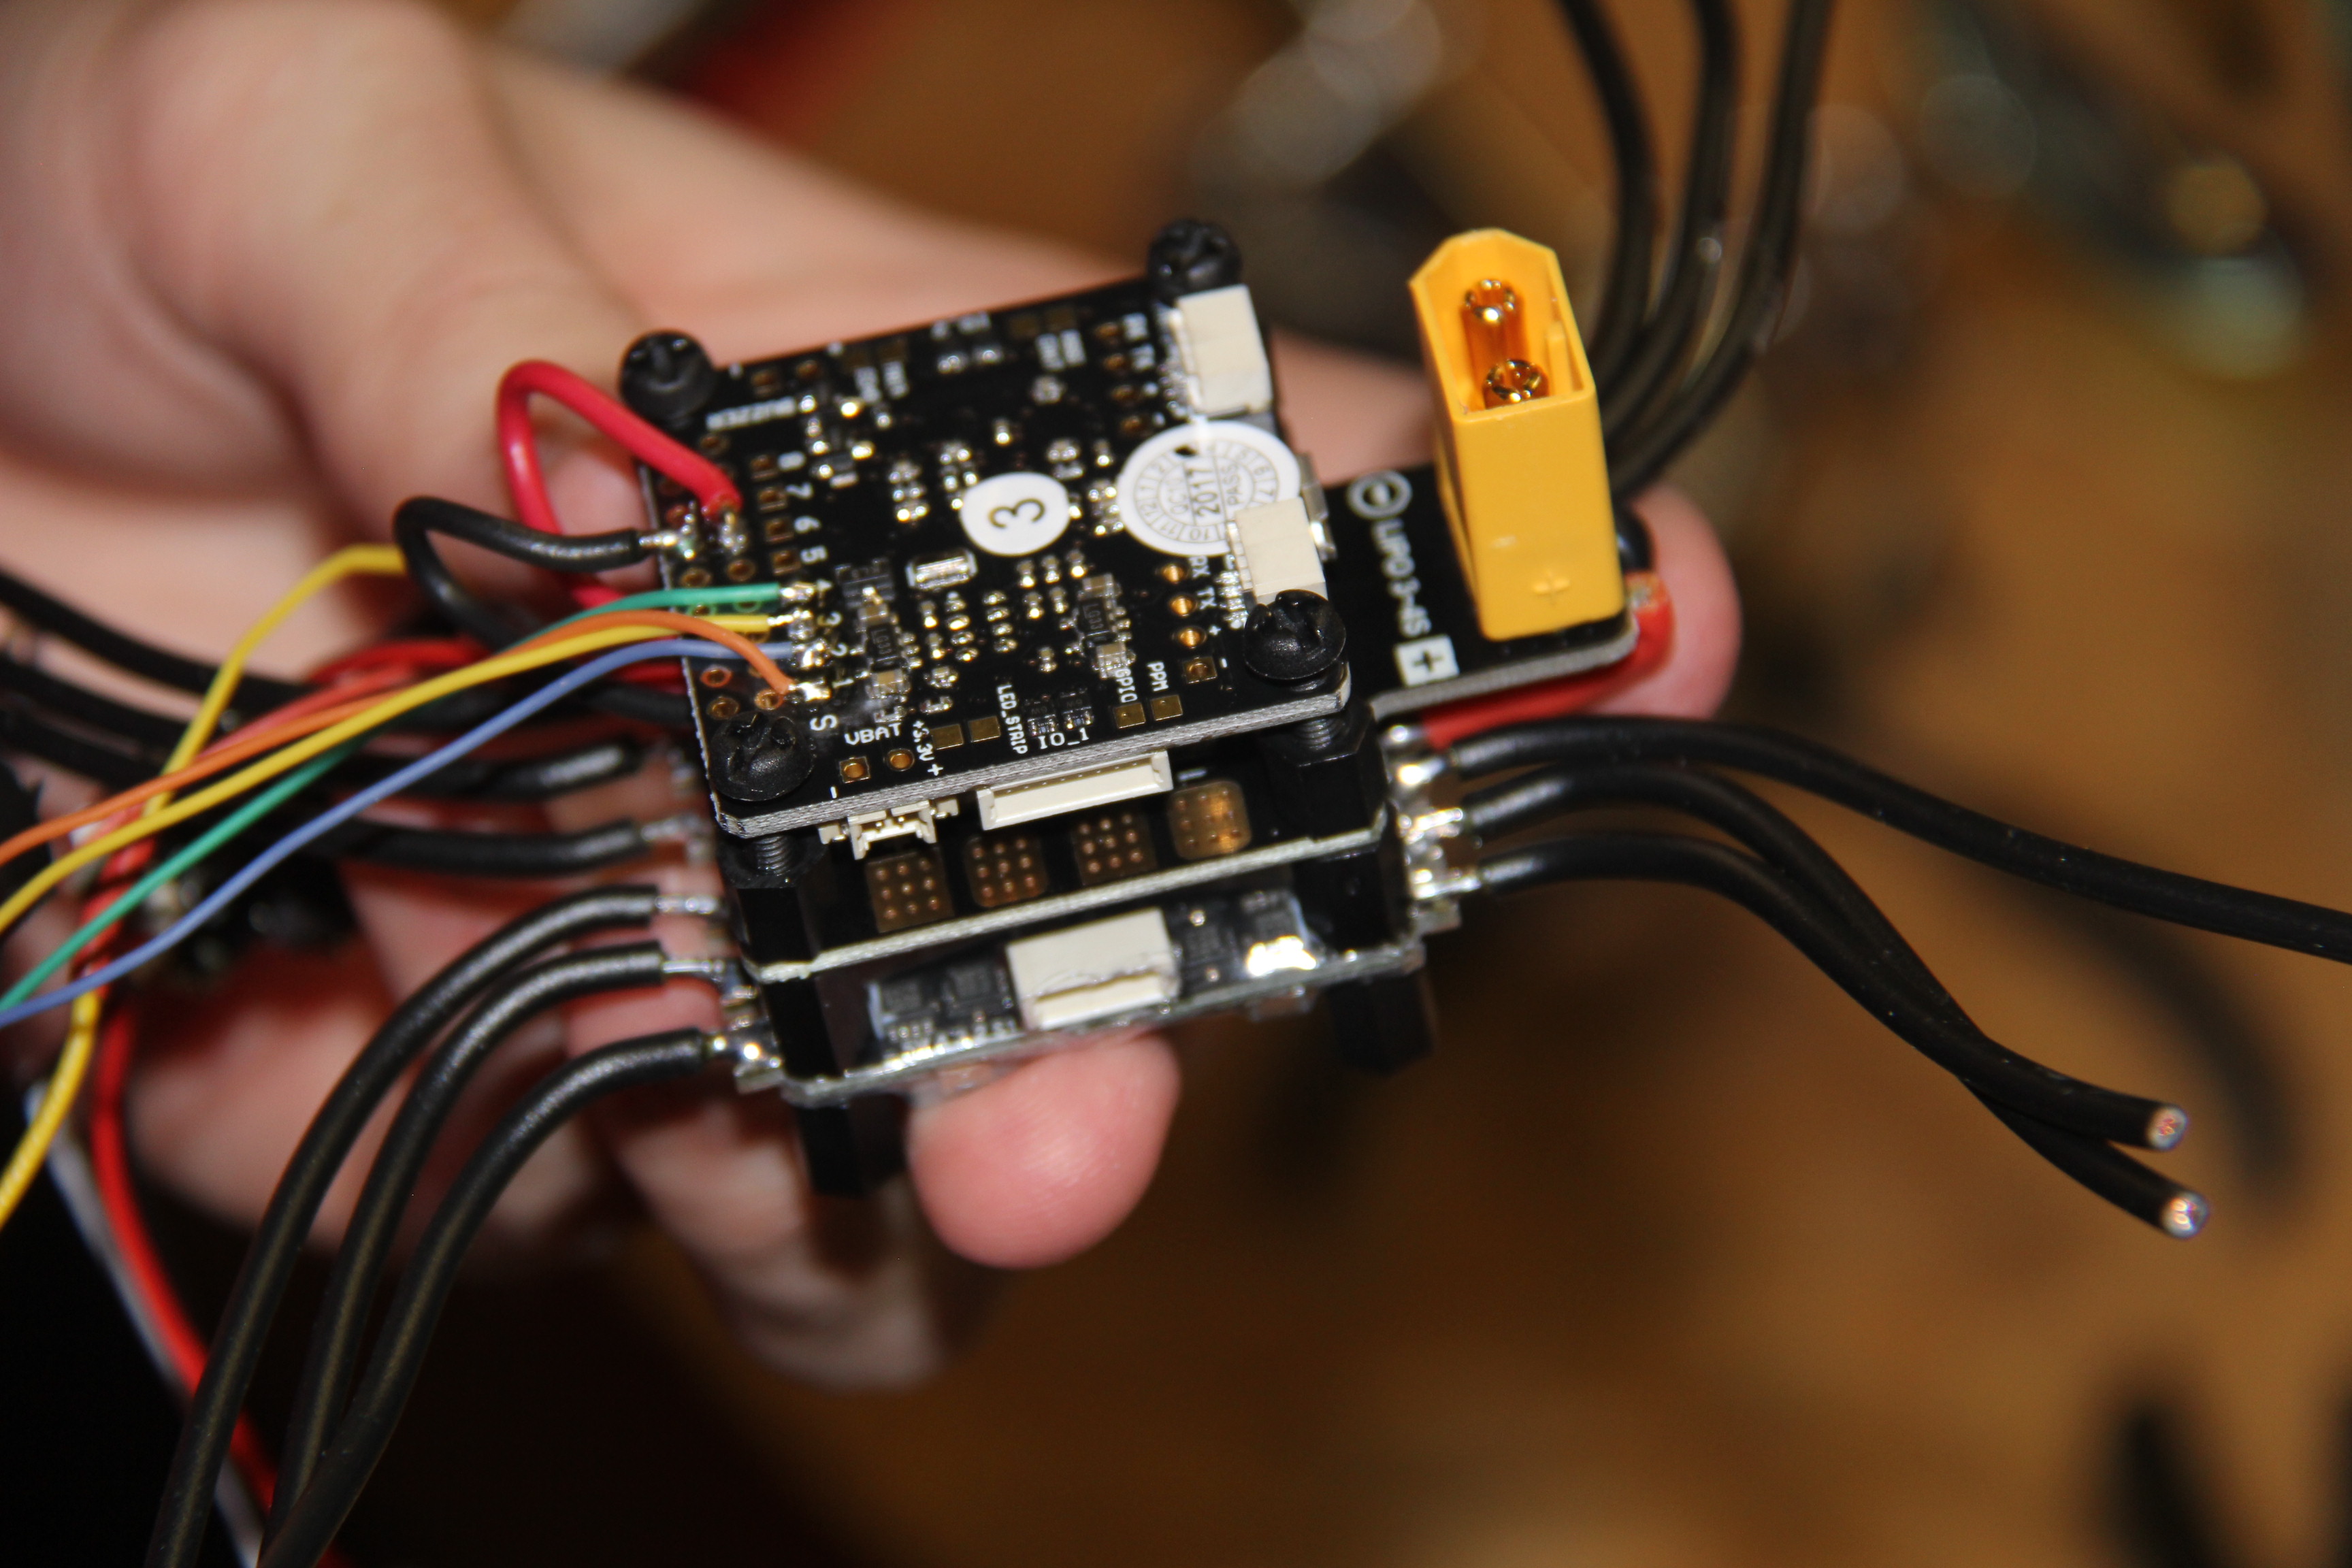
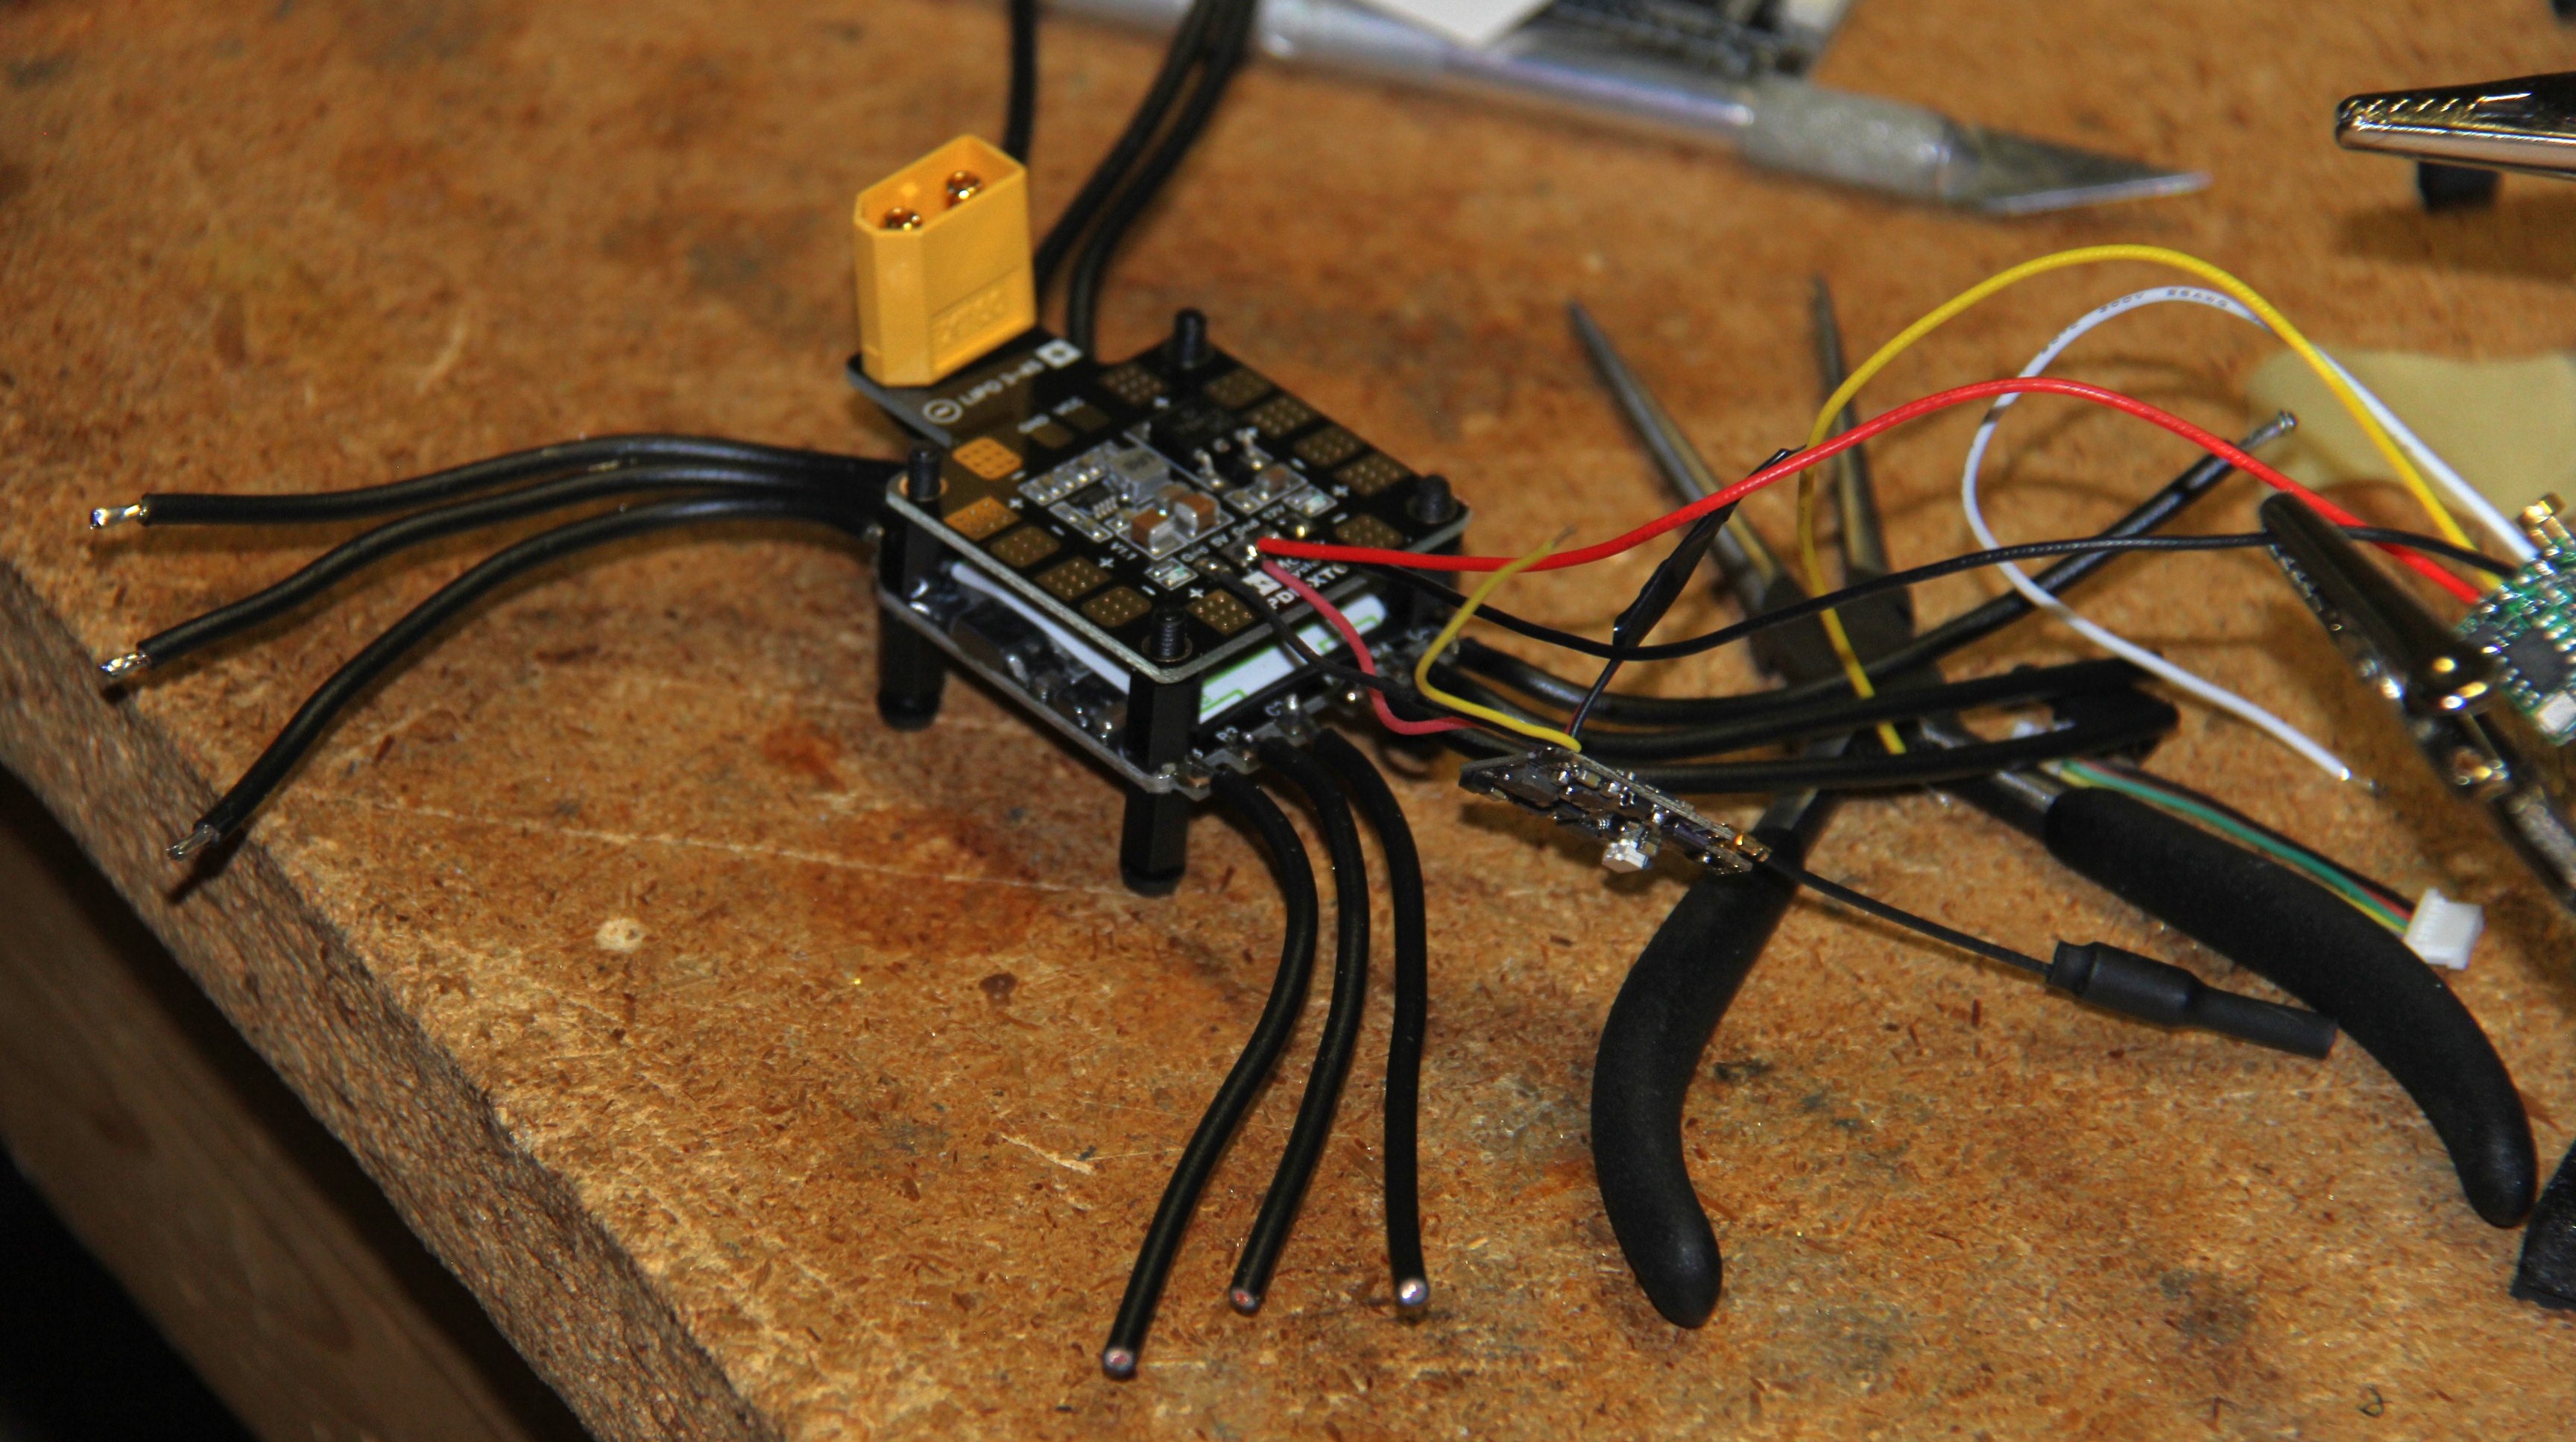 ESC goes on the bottom, PDB in the middle, and the FC goes on top.
With most of the electronics done, I started the body.
The body is composed of four arms connected to a central body with a small canopy on top. Each arm has 2 weak points in it so that it will snap in the case of a rough landing. In the first iteration of the design, I only included one joint.
Print two more arms and then the body is done. I’ll add the canopy in later.
Attaching the propellers.
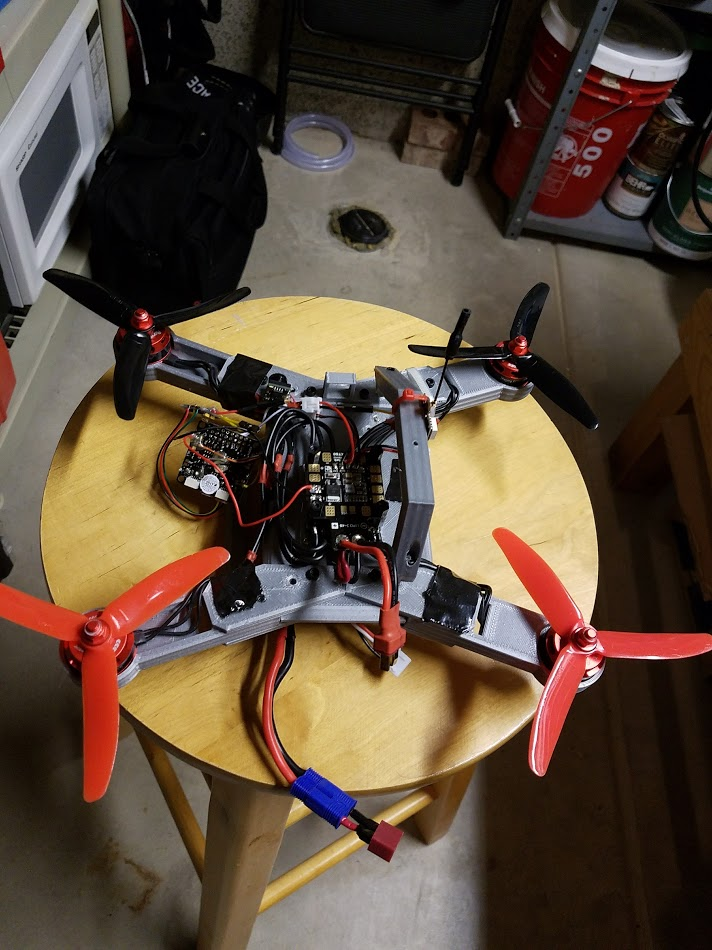
For a battery, I used a 30C 3000mAh battery. I did not have to buy this as I had been using it with my 350 QX3.
I had some FPV footage of it flying around, but it appears to have been deleted. Next time I get around to flying this thing, I’ll post the video here.