An Electric Longboard 4x Stronger Than a Boosted
Long boards are a great mode of transportation for going down hills or cruising on a sidewalk. The obvious downside to this is that you’ll be walking uphill if your journey involves any inclines. Electric long boards are a great solution to this problem. They just go wherever you take them.
A few months ago I thought I would take a stab at making one of these on the cheap. Future me now realizes that these things are anything but affordable.
Attempt 1
Here’s my first attempt at making this. I found the cheapest parts I could find and slapped it all together in around 2 hours. Minimal effort required.
| Part | Price | Total |
|---|---|---|
| KEDA 190KV Motor | $50 | |
| Volador 42” Longboard | $60 | |
| 83mm Longboard Wheels | $27 | |
| XCSOURCE DIY Electric Skateboard Longboard Kit | $24 | |
| VESC | $95 | |
| Controller | $34 | |
| 6mm Bullet Connectors | $7 | |
| $296 |
Connect the motor and two batteries I had lying around, and that’s it. Perfect.
But it did not end there. I took it outside, and it made it about 300 feet before the motor mount came loose from the trucks. The reason is that the vibrations caused by the pathway made the setscrews in the mount come loose. This is the gist of the design (three screws clamping the mount to the circular trucks). Sadly, this also ruined my motor.
There was also another unforeseen issue. The belt that comes with the motor mount kit is an HTD 3M belt. The smaller teeth in the belt are not able to maintain a solid grip on the pulley while under heavy acceleration. There was a noticeable sound made when the belt skipped over the teeth of the pulley.
The most glaring issue of them all is that all the electronics are completely exposed. If a rock were to hit the ESC or batteries, there would be a good chance of breaking something or possibly a fire. Some sort of enclosure would be a requirement.
Attempt 2
Okay, let’s make some changes:
- Replace belt drive with much less skippy chain drive.
- Make enclosure to hold electronics
- Minor battery improvements
| Part | Price | Total |
|---|---|---|
| Racerstar 200KV Motor | $42 | |
| Sprocket Chain Wheel | $12 | |
| 12x24” Kydex Sheet | $17 | |
| Sketchy 10s2p battery | $33 | |
| 10s Hoverboard Charger | $12 | |
| $116 |
First things first. It was not smart to use these batteries. They are way too cheap to be legit and could have likely started a fire. I was pretty stupid to even touch these things. But here we go anyway.
Starting with the battery. It came looking like this:
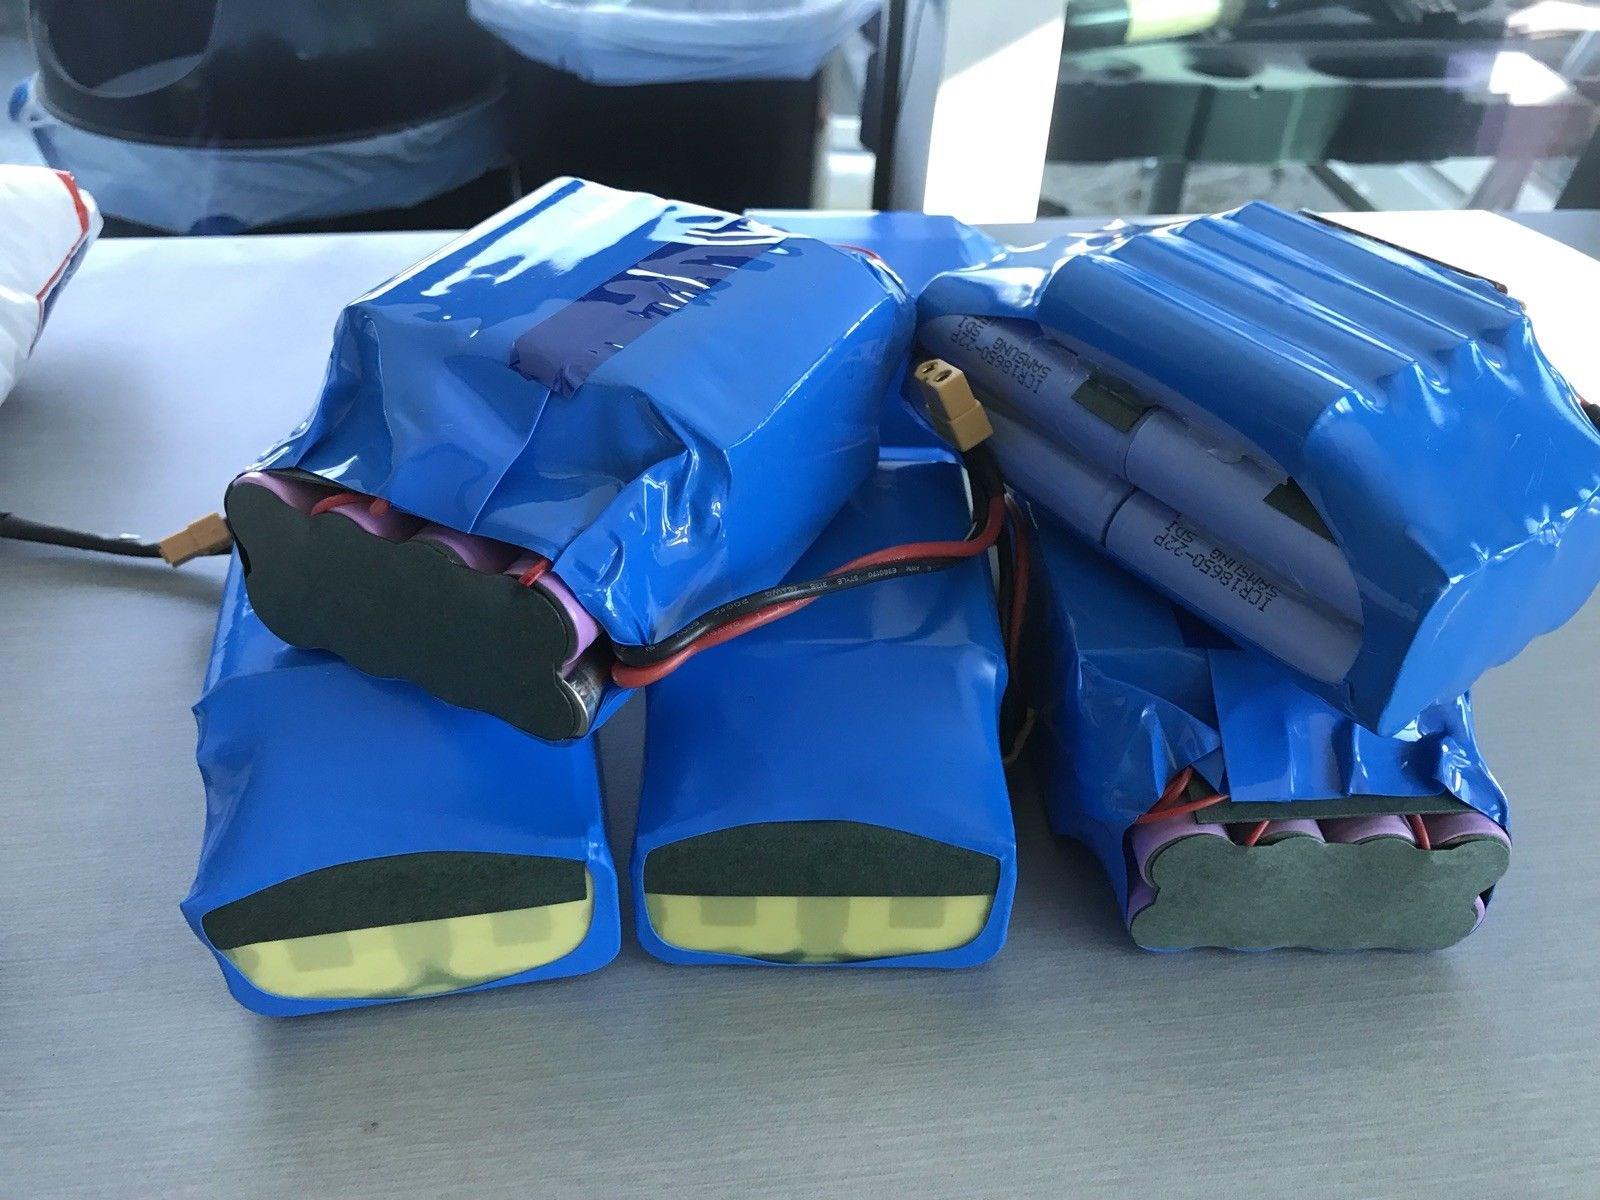
I repacked it so the last four cells were on the side and not the top. It definitely looks like I know what I’m doing here.
Now came the motor and the chain drive. This was trivial. Just had to take off the old stuff and slap on the new. The enclosure was the hardest part. I cut the 24” Kydex sheet to size and put it in the oven for about 3 minutes, periodically checking the temperature with an IR thermometer. Once it was at around 350°F I pushed it around a 3D printed mold to get the desired shape. Some further tweaking was required by heating parts of the enclosure with a heat gun and pushing it into place. Then brass wood inserts were inserted into the board to provide a thread for the screws. Finally, everything was screwed into place.
This design also had major faults. I still have not addressed the motor mount issues and the enclosure looks terrible. Predictably, the batteries gave out after six or so charge cycles (thankfully there was no fire).
Attempt 3
This time I did some more research on lithium batteries, and I think I have it down. I got rid of the sketchy pack (safely) and decided to make my own from scratch.
- New more reliable battery
- Add some telemetry and whatnot
- Improve enclosure
| Part | Price | Total |
|---|---|---|
| HM-10 Bluetooth Module | $7 | |
| 20 Samsung 30Q Batteries | $110 | |
| 103mm Heat Shrink | $7 | |
| 10S BMS | $10 | |
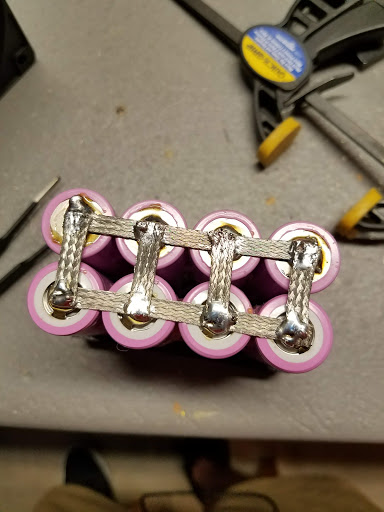
| 3/16” Ground Strap | $7 | |
| $141 |
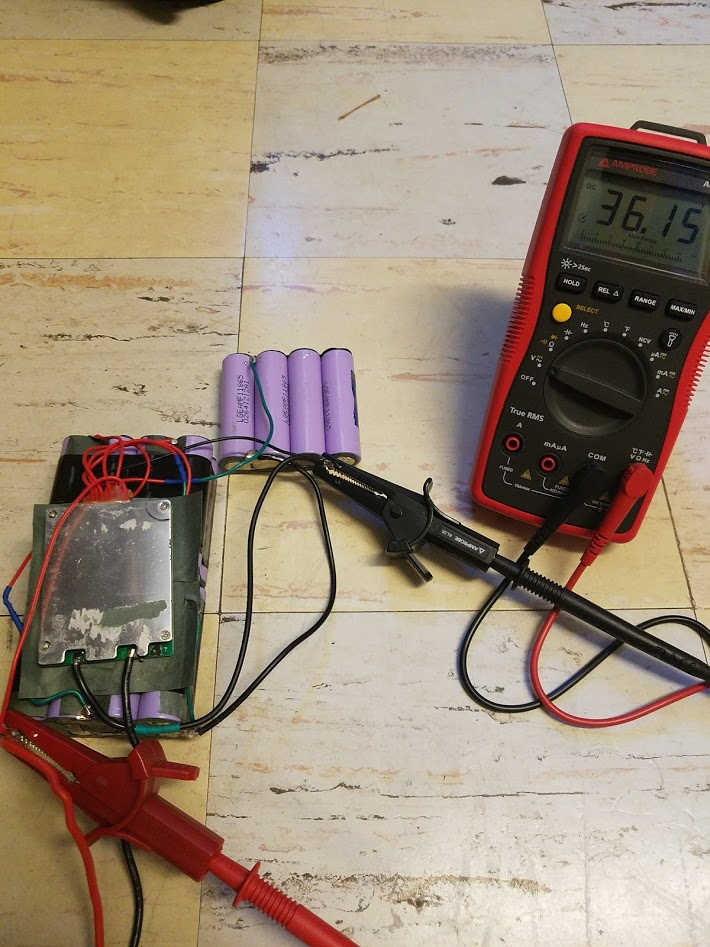
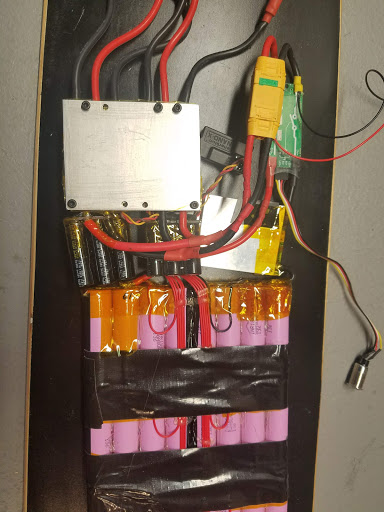
Making the battery pack was the main challenge of this revision. I was stressed out the entire time because shorting one
of these cells means fire. Here was my plan for the battery.
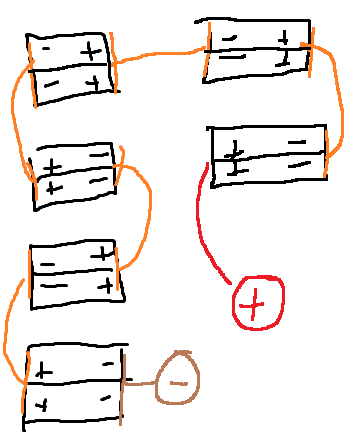
The design doesn’t make a lot of sense now, but I thought it was cool at the time. It was also important to add a connector at the top of the two packs so that heat shrink could be put over each column of cells.
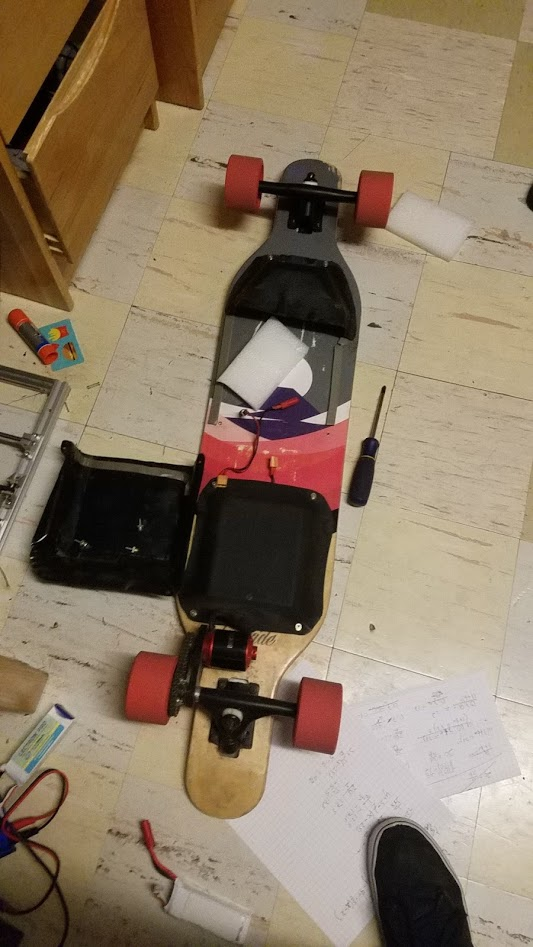
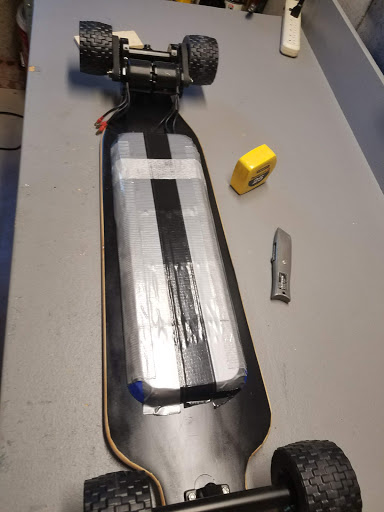
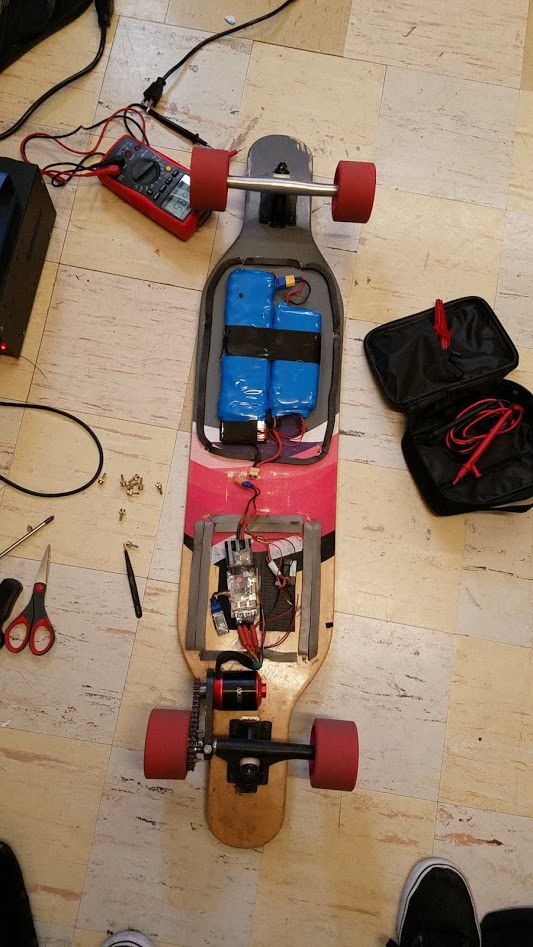 Also notice how the front truck is silver now. I snapped my front truck after running into a railing. Be safe!
Notice how the motor mount is not at a right angle to the trucks. That will be a problem. Also, the battery weighs a fair amount. To have that much mass pounding on my poor enclosure while I hit speed bumps at 20mph means it likely won’t last.
And soon enough the enclosure and the motor mount were broken.
Attempt 4
So the motor mount actually ended up ruining my trucks. The cheap metal ended up just snapping. Sadly, I don’t have a picture to share. Time to fix the motor mount!
| Part | Price | Total |
|---|---|---|
| Caliber 50* Trucks | $40 | |
| New Motor Mount | $60 | |
| 25H Chain | $11 | |
| $101 |
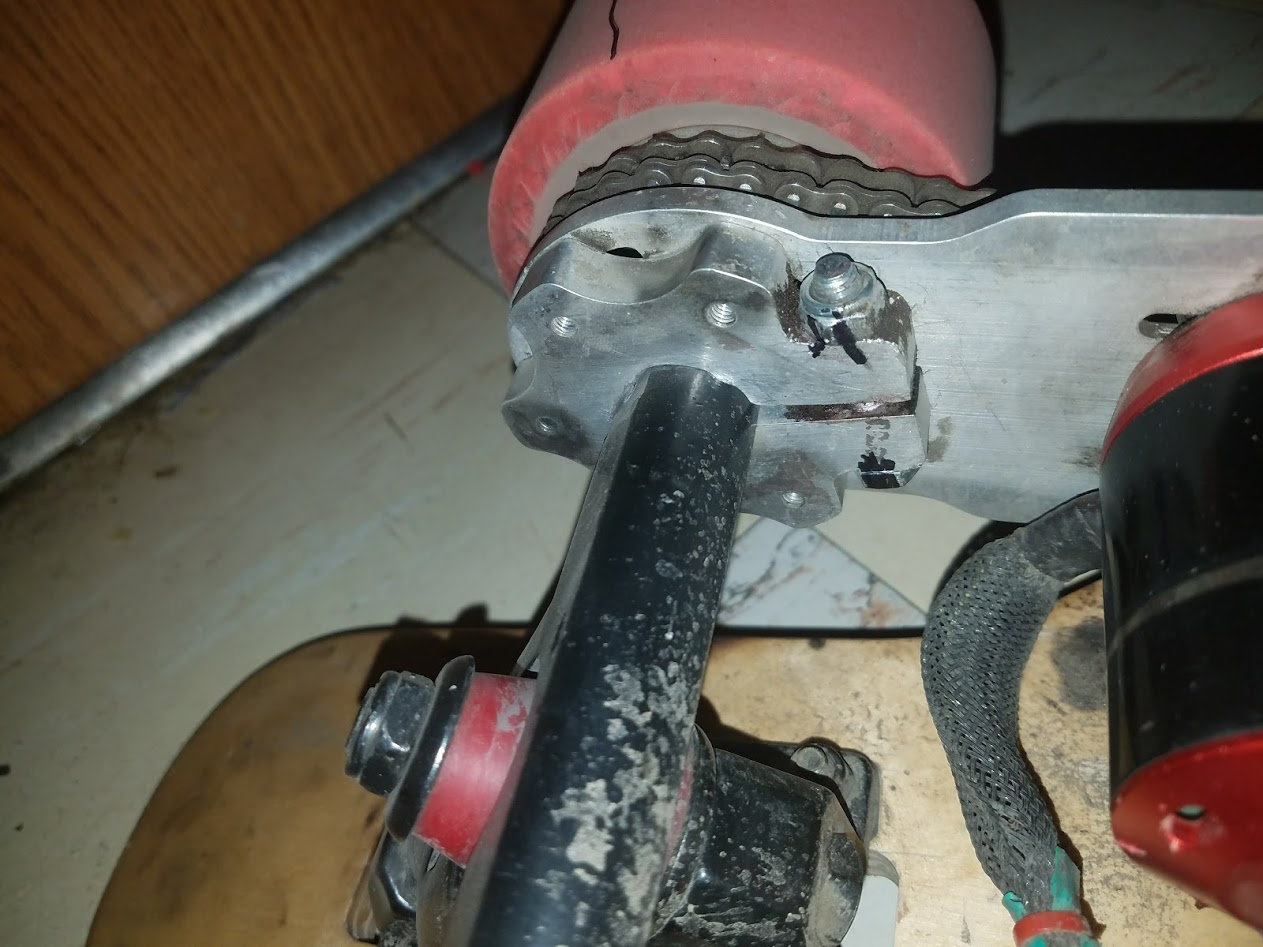
I had hoped that spending top dollar on a motor mount would magically make all my problems go away. Sadly, I was mistaken. This new mount gave me even more problems than the last. First, I was sent the wrong mount, then more serious problems arose.
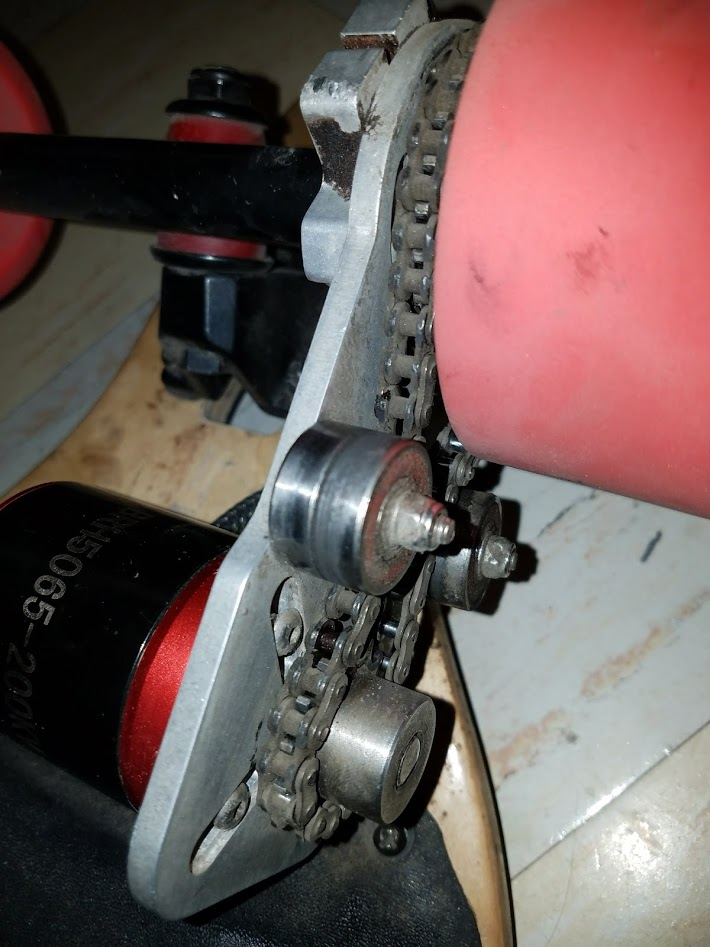
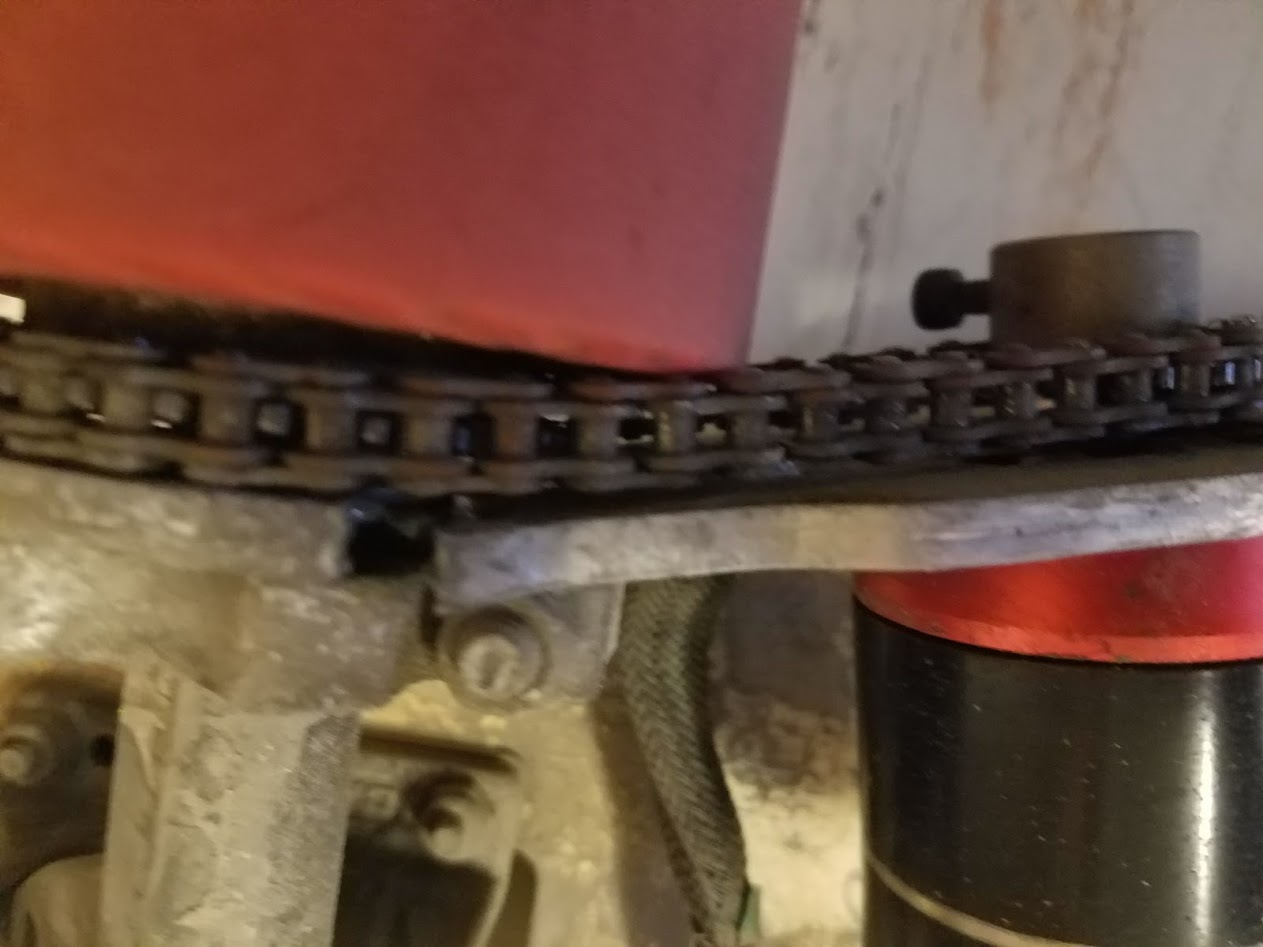
I know you’re all saying I’m an idiot for using bearings as idlers for a chain. I also think this is stupid. But I wanted to see if it would work while my new mount was in the mail. It actually made a really cool note when I spun up the motor.
New motor mount came!
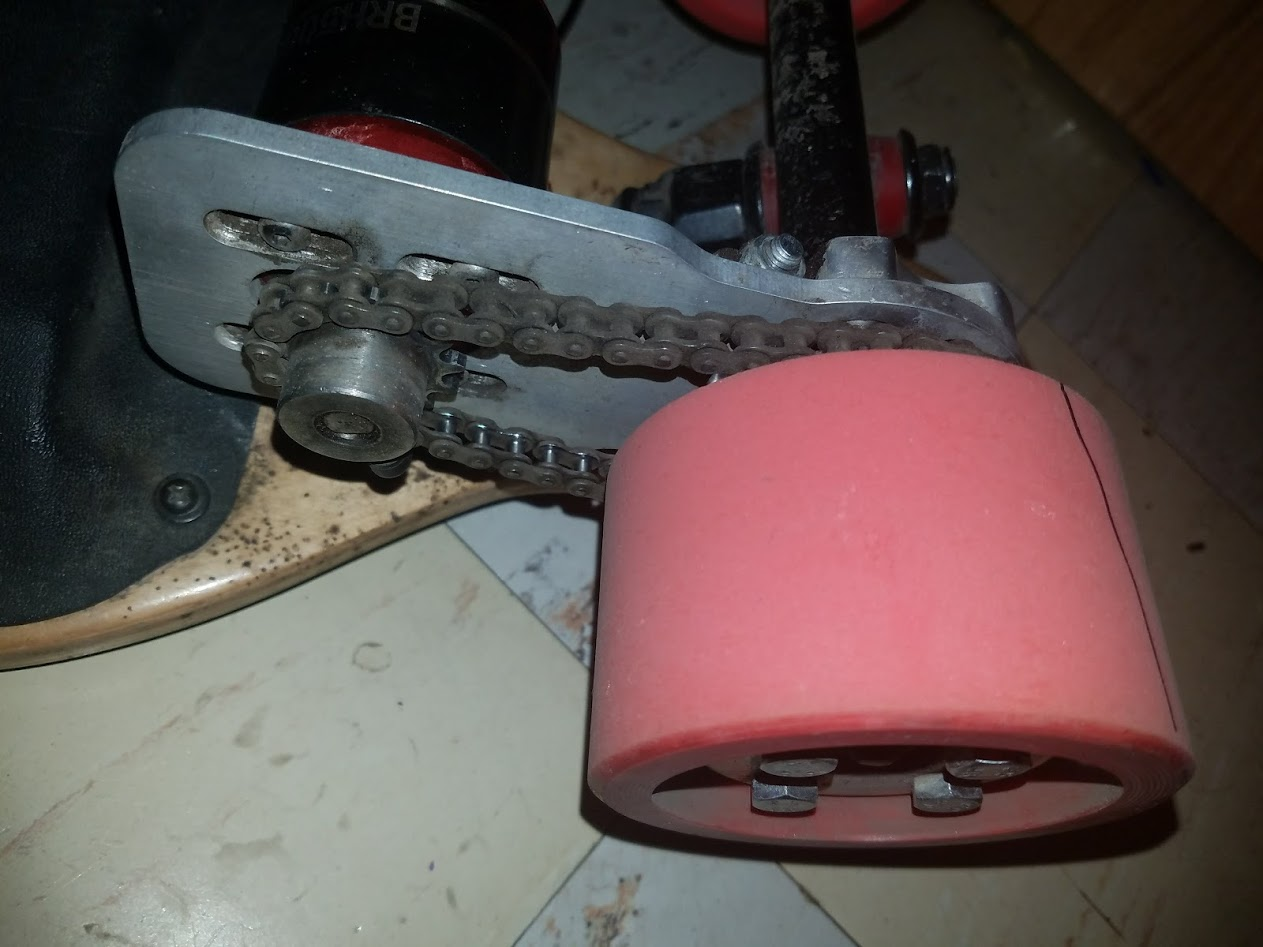
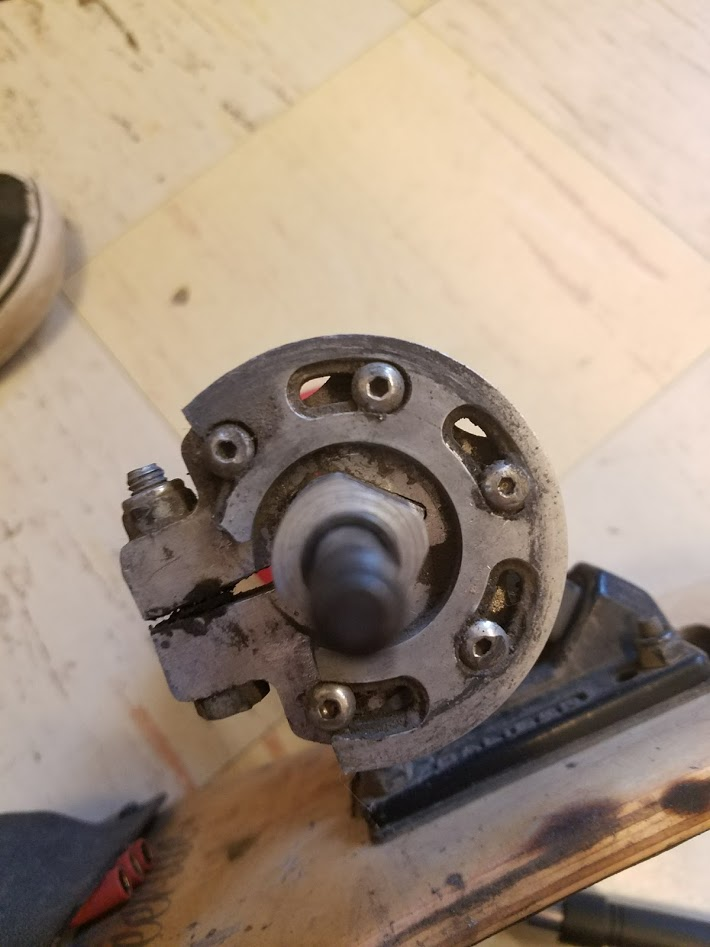
The original mount came with a M5 screw for the clamp. I wasn’t able to torque it down hard enough for the mount to stay on, so I drilled it out and tapped it for an M6 screw with a locknut.
Lots of Loctite were used in the battle to keep this damn thing from wobbling.
The battle was finally lost when it gave out on me while I was riding.
Well, now I’ve spent all this money and have nothing to show for it. Funny enough, this one guy on my campus saw I rode my board a lot and gave me a bunch of parts from one of his electric boards.
Attempt 5
I am pretty sick of stuff breaking while I’m riding. I want to go all out and try to make the most reliable board I can. I also was able to sell my old board to a friend and get a fair amount of cash back. Here we go again!
- More reliable motor mount
- Huge battery to power 2 motors
- New enclosure for batteries
- Sleek design
| Part | Price | Total |
|---|---|---|
| TorqueBoards motor mount x2 | Free | |
| TB 6355 190kv x2 | Free | |
| TB Anti-spark switch | Free | |
| TB VESC | Free | |
| TB 16T Motor Pulley x2 | Free | |
| TB 36T Drive Wheel Pulley | Free | |
| TB 255mm Belt | Free | |
| Atom Drop Through 41” | Free | |
| Grip Tape | $10 | |
| MBS 100 Wheels | $70 | |
| Heat Gun | $16 | |
| TB 36T Drive Wheel Pulley | $37 | |
| TB 180mm Trucks | $60 | |
| Battery Readout | $5 | |
| HTD 255-5M-12 Belt | $6 | |
| BMS | $11 | |
| Kydex Sheet | $17 | |
| Enertion NanoX controller | $35 | |
| 9” Heat Shrink | $12 | |
| 10S charger | $60 | |
| 40 Samsung 30Q Batteries | $190 | |
| $529 |
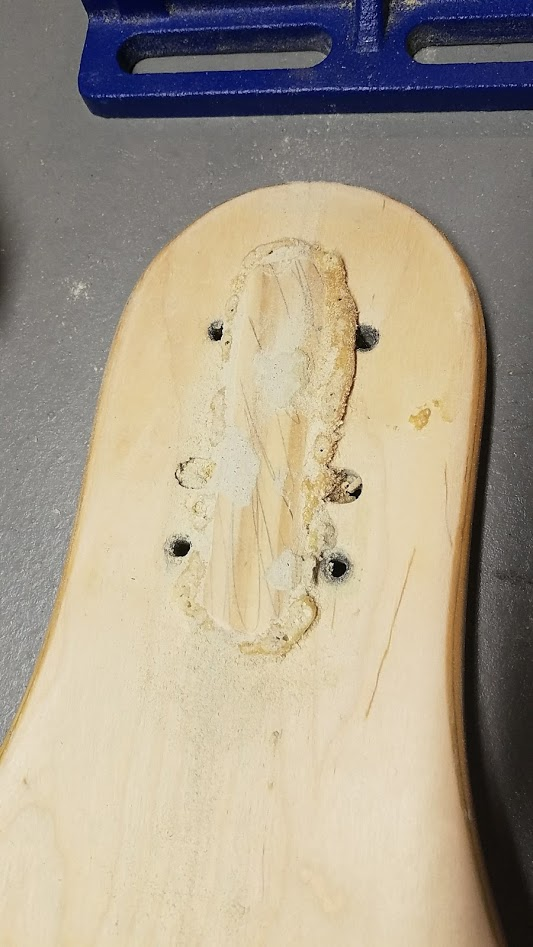
I wish I had taken a picture of the board before I started cleaning it all up. It was not in great shape. There were lots of holes and small defects that I wanted to fix. Some wood filler and a finishing sander took care of fixing this.
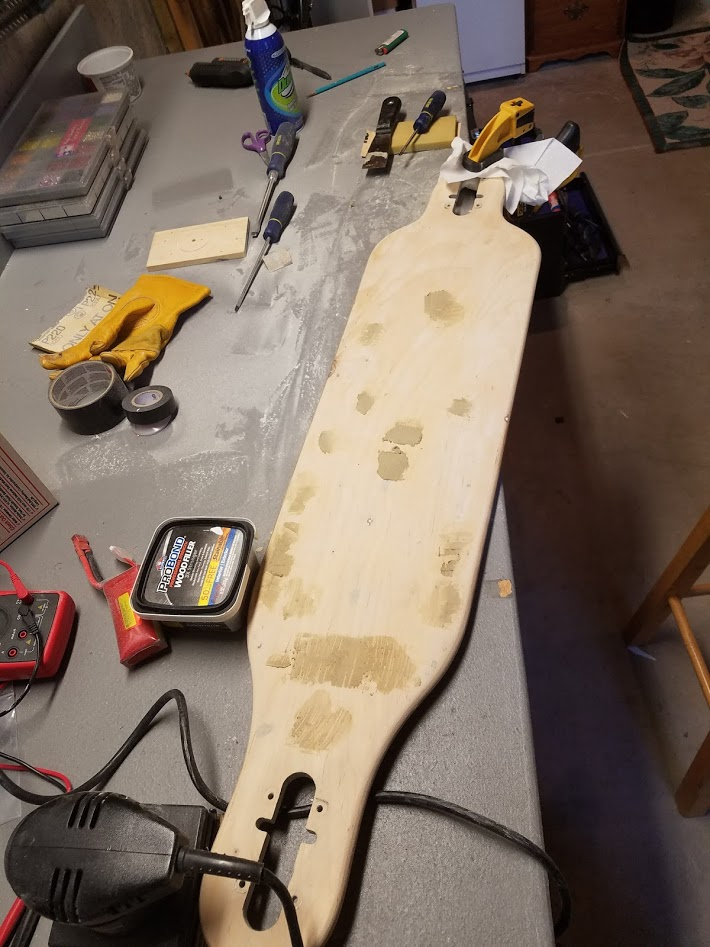
Next, I wanted to plug the holes for the trucks. I know I want to top mount it, so these won’t be needed anymore.
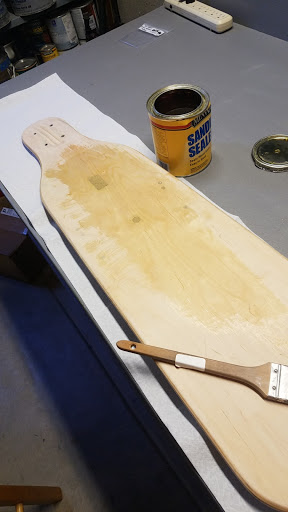
Some sealant can’t hurt.
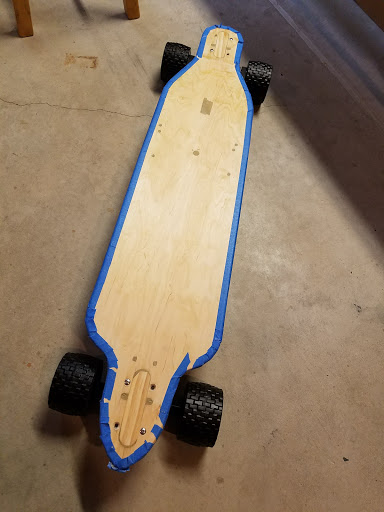
I taped everything up for painting. For some reason, I put the trucks on for this picture.
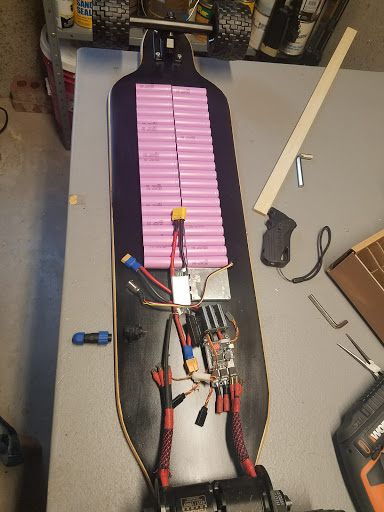
Here’s the new plan for the internals. One VESC is missing in this picture.
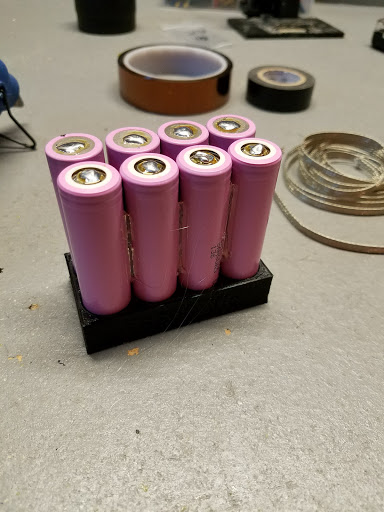
Now the batteries. I 3D printed this jig to assist me while soldering the packs.
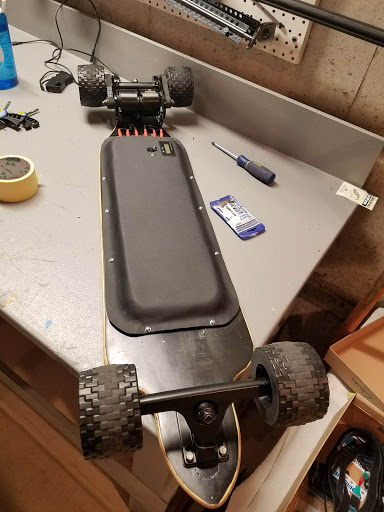
Now a test run
I also made an aluminum enclosure for both of my VESCs. This should help a lot with the heat these things produce.
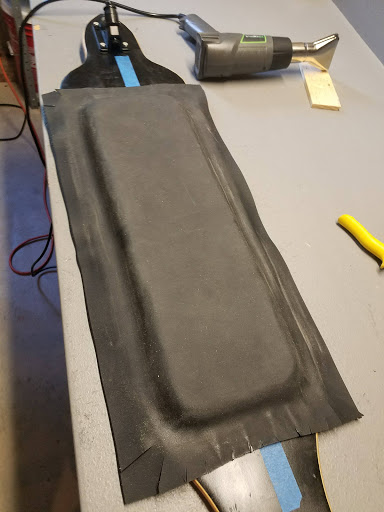
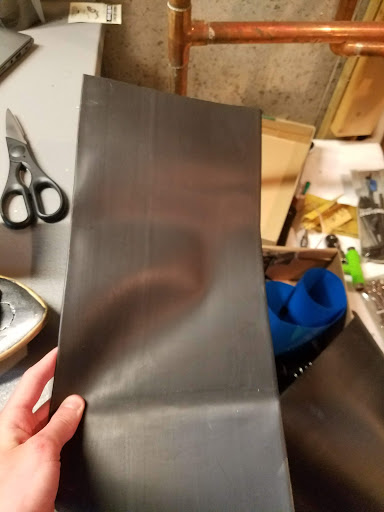
Now onto the enclosure. I spent 3 days 3D printing a new mold for the enclosure. It’s important to add some tape on top to help keep the heat away from the PLA.
Some quality time with a heat gun yielded some impressive results.
Then cut it out and sand the edges. I also drilled some mounting holes while I was at it.
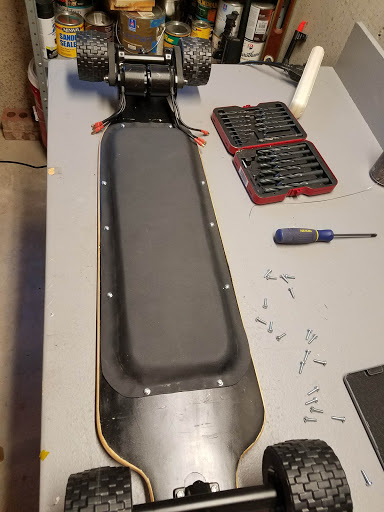
Finally, add some holes for the motor leads and a few buttons.
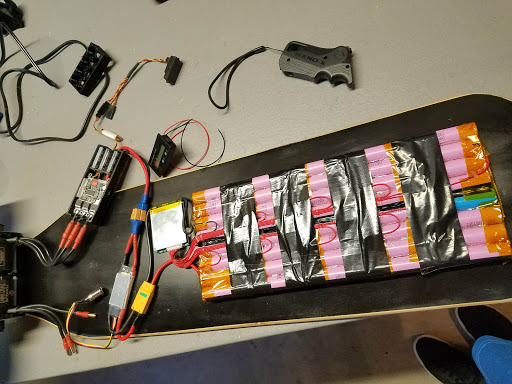
I didn’t take a picture of the battery with the heat shrink on, but this heat shrink is awesome!
Finally, it’s done!
And yes, that is smoke.